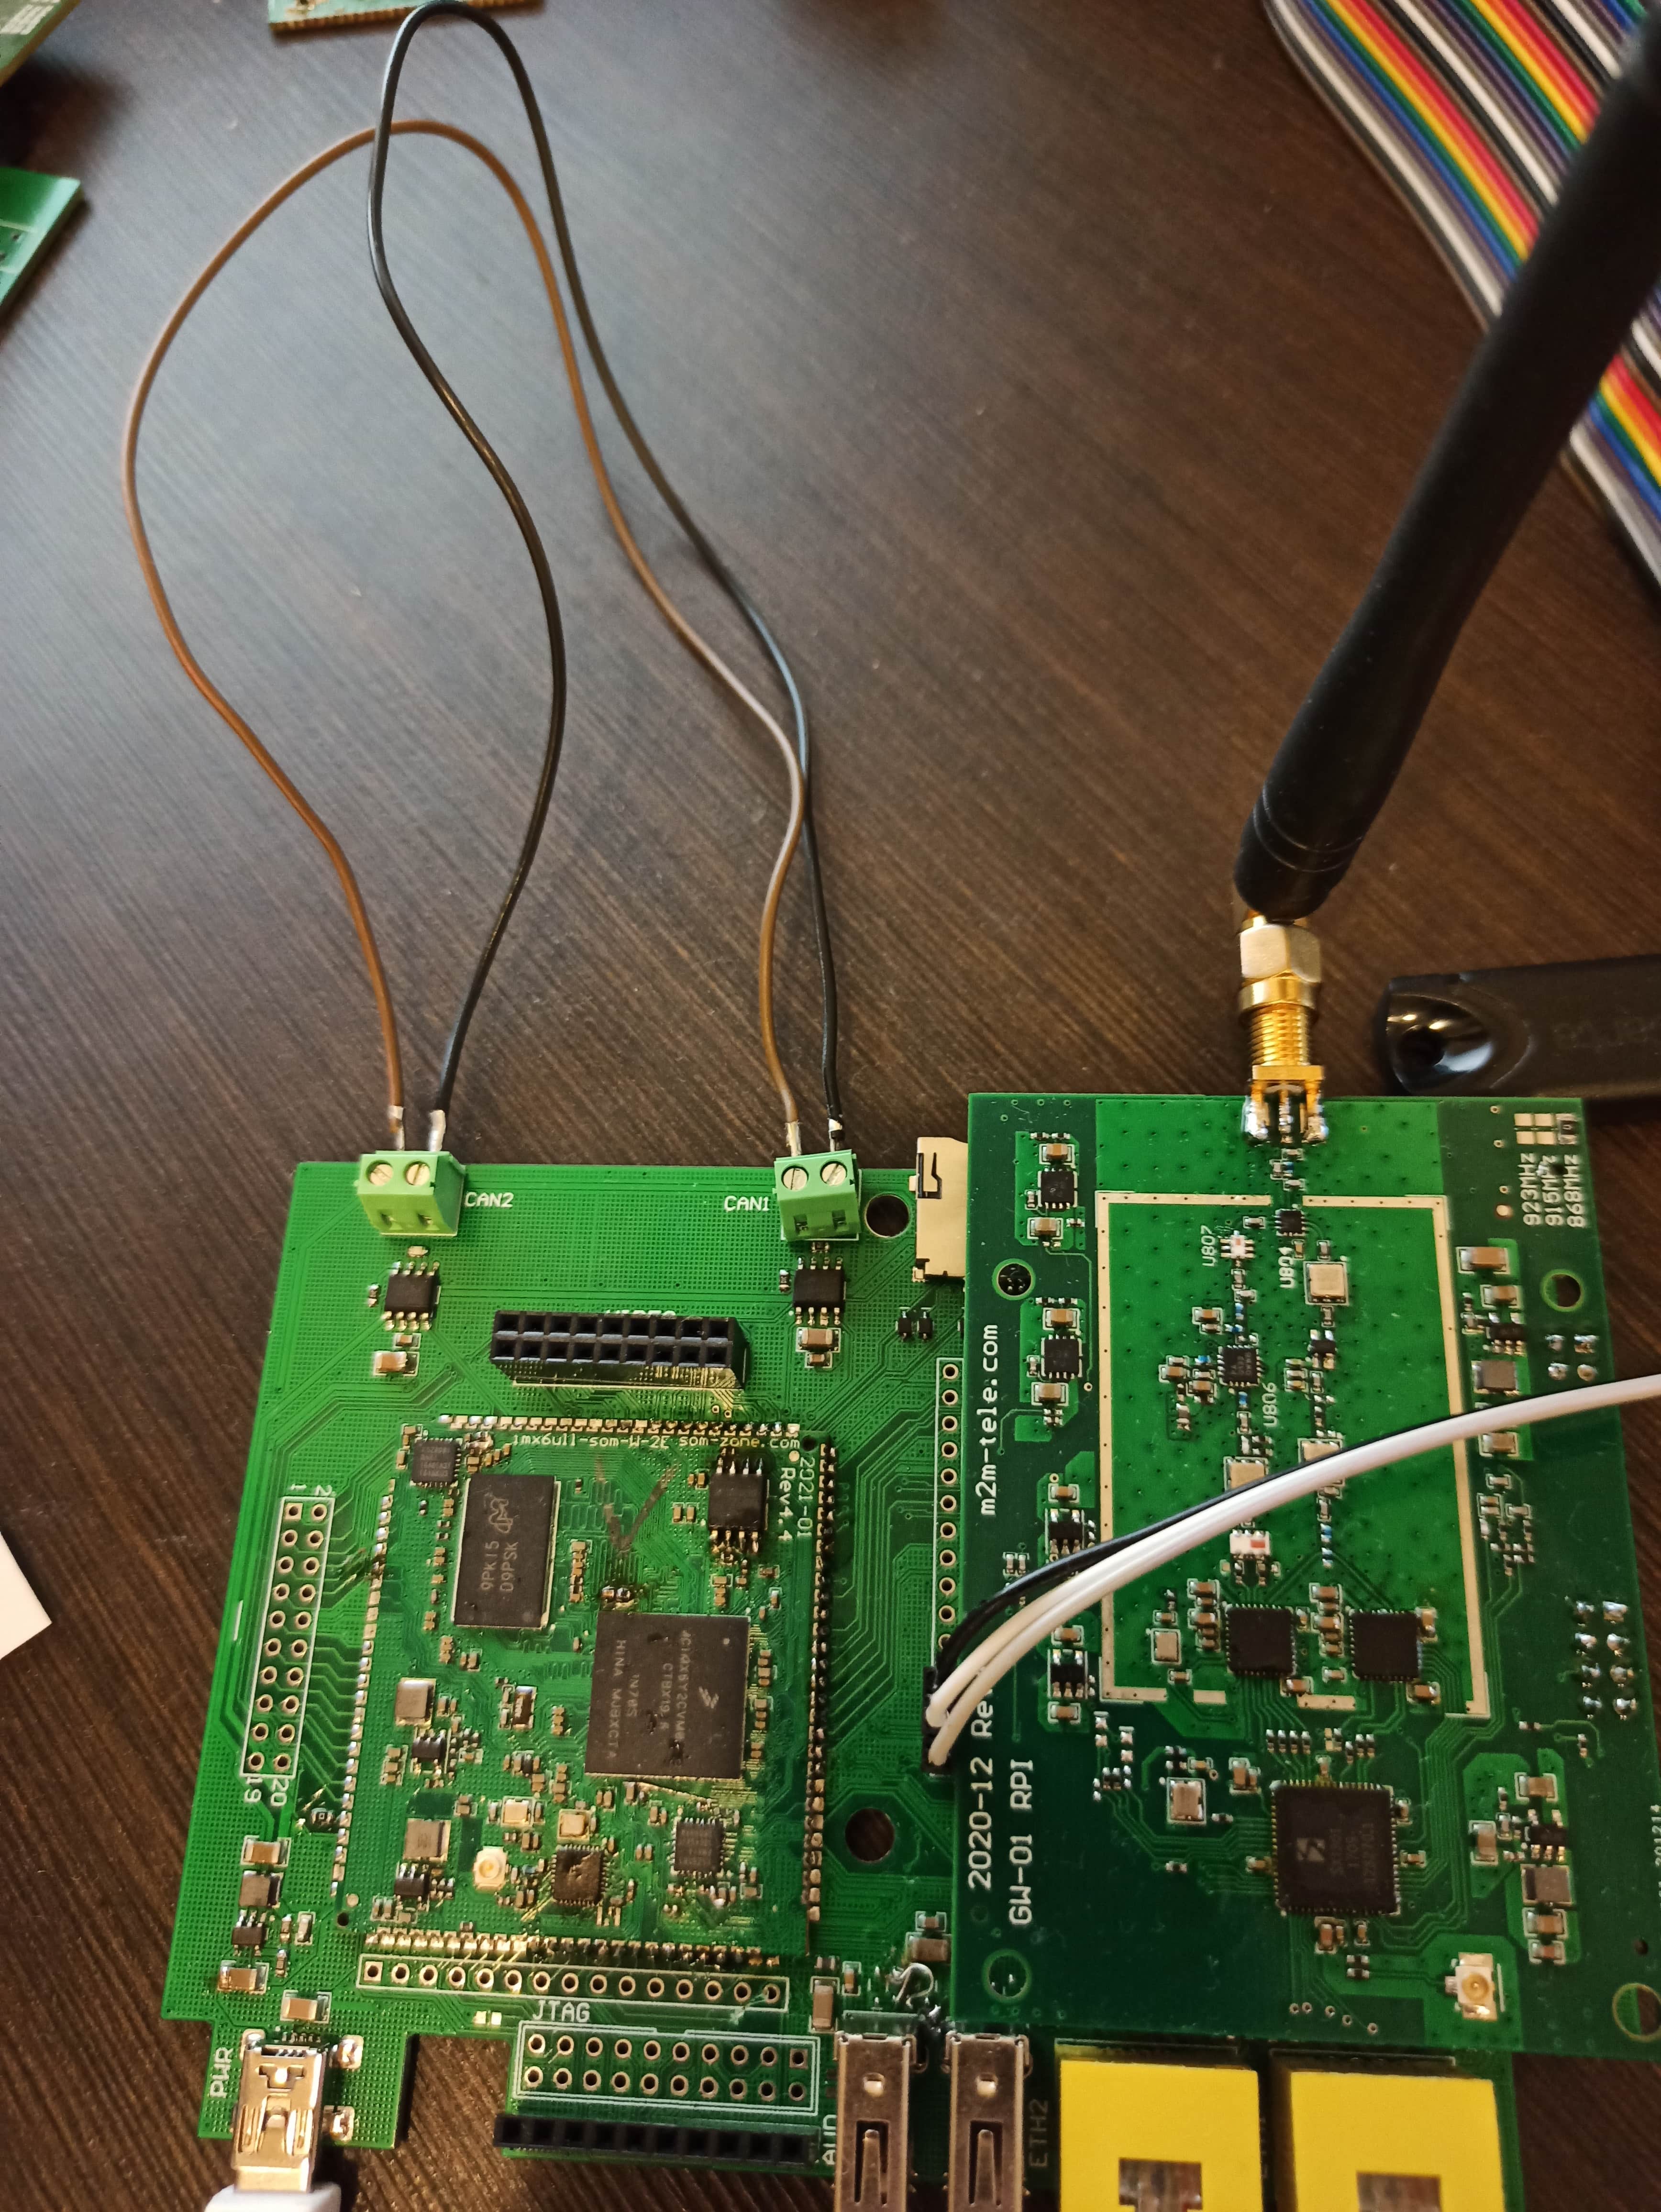
IMX6 CAN bus developers guide. Part 1.
IMX6 can bus development guide. CAN bus is popular interface in industrial applications especially in automotive.
Schematic inspection and DTS modification.
Adding each new hardware interface to image might be started from DTS. Before this you need check what GPIO used by CAN bus in schematic of IMX6ULL SoM (NetSoM) development board.
Here CAN bus circuits:

here U3 and U4 are CAN transceivers. Their CANH/CANL pins routed to output connectors. CAN1_TX/CAN1_RX and CAN2_TX/CAN2_RX – to IMX6ULL’s pads:


Here we see that CAN1_TX connected to UART3_CTS pad of IMX6ULL that might be configured as CAN1.TX pin and. In linux hardware configuration we implement using so called DTS.
First we need to add root nodes presenting each interface:
can2 = &can2;
pinctrl-names = “default”;
pinctrl-0 = <&pinctrl_flexcan0>;
status = “okay”;
}
pinctrl-names = “default”;
pinctrl-0 = <&pinctrl_flexcan1>;
status = “okay”;
}
Then time of pinctrl nodes:
fsl,pins = <
MX6UL_PAD_UART3_RTS_B__FLEXCAN1_RX 0x1b020
MX6UL_PAD_UART3_CTS_B__FLEXCAN1_TX 0x1b020
>;
};
fsl,pins = <
MX6UL_PAD_LCD_DATA11__FLEXCAN2_RX 0x1b020
MX6UL_PAD_LCD_DATA10__FLEXCAN2_TX 0x1b020
>;
};
It might look like a set of magic numbers and names. It is true. Linux DTS not well documented. So in a case when it can’t shed light to things you need implemented the only way to understand what to do is learning existing code base. Find and grep utils – your best friends. Commits history also might be useful. You may find link to commits implementing CAN bus support to NetSoM at the end of this article.
For example by running (image must be built before you get ability to make a search):
you may discover that there is imx6ul-pinfunc.h header file exists with set of PAD definitions exist:
with following name convention: ARCHITECTURE_PAD_PINNAME_PINFUNCTIONALITY.
Comparing it with schematic above convinces that there is exactly our target definition.
Also you may discover following:
DTS samples! In the easiest case configuration you need already implemented in DTS samples you may just copy and paste it from DTS sample to your DTS.
Unfortunately embedded linux not user friendly so you have to learn on your own.
CAN support enabling in kernel.
After DTS you have to enable hardware support in kernel. You can do it by running
In UI menu navigate to CAN support chapter and enable modules:


Besides this it is also might be useful to enable additional utilities to be included in resulted image to have a tools to test interface you are developing. Later you may exclude them from release image but on development stage they can simplify development process:


Now we are ready to compile and update device firmware. Here explained how you can do that.
Interfaces configuration.
Boot device and check logs:
[ 13.501480] can: controller area network core (rev 20170425 abi 9)
[ 13.504449] can: broadcast manager protocol (rev 20170425 t)
[ 13.515445] can: raw protocol (rev 20170425)
[ 13.530450] flexcan 2090000.flexcan: 2090000.flexcan supply xceiver not found, using dummy regulator
[ 13.535430] flexcan 2090000.flexcan: device registered (reg_base=90ab8000, irq=22)
[ 13.539855] flexcan 2094000.flexcan: 2094000.flexcan supply xceiver not found, using dummy regulator
[ 13.682346] flexcan 2094000.flexcan: device registered (reg_base=90ac0000, irq=23)
Everything looks fine.
Let’s try to set up CAN interfaces:
# ip link set can0 up type can bitrate 500000
# ip link set can1 down
# ip link set can1 up type can bitrate 500000
and check them using ifconfig:
can0 Link encap:UNSPEC HWaddr 00-00-00-00-00-00-00-00-00-00-00-00-00-00-00-00
UP RUNNING NOARP MTU:16 Metric:1
RX packets:0 errors:0 dropped:0 overruns:0 frame:0
TX packets:1 errors:0 dropped:0 overruns:0 carrier:0
collisions:0 txqueuelen:10
RX bytes:0 (0.0 B) TX bytes:0 (0.0 B)
Interrupt:22
}
can1 Link encap:UNSPEC HWaddr 00-00-00-00-00-00-00-00-00-00-00-00-00-00-00-00
UP RUNNING NOARP MTU:16 Metric:1
RX packets:0 errors:0 dropped:0 overruns:0 frame:0
TX packets:1 errors:0 dropped:0 overruns:0 carrier:0
collisions:0 txqueuelen:10
RX bytes:0 (0.0 B) TX bytes:0 (0.0 B)
Interrupt:23
}

and send CAN packet to second one:
at first console you should see following:
can0 01F [8] 11 22 33 44 55 66 77 88
packet you sent to another interface. It is working!
Next time we continue development process to automate interfaces set up at booting process and will implement separate config called flexcan_ethernet.
Here and here – commits with CAN bus support implementation.
Keep following as here at our telegram channel!

