Embedded Linux Kernel debugging using GDB and JTAG debugger
In previous posts we learned way to debug user layer application, u-boot bootloader on target hardware. Now it is time to get Linux Kernel debuggable. Here described steps to make Linux Kernel debugging on remote target hardware (IMX6ULL CPU) using JLink debugger via JTAG interface.
Preparation
After getting source code and compiling it:
$ cd imx6ull-openwrt
$ ./compile.sh flexcan_ethernet
Kernel source code might be found at:
$ make menuconfig
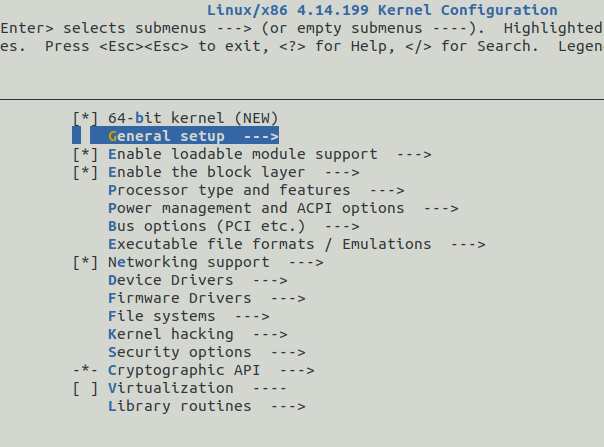
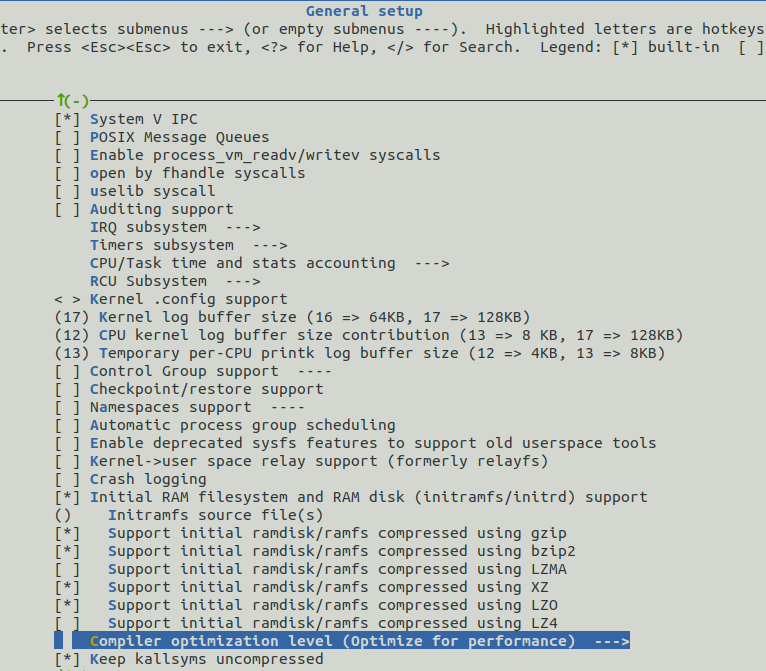
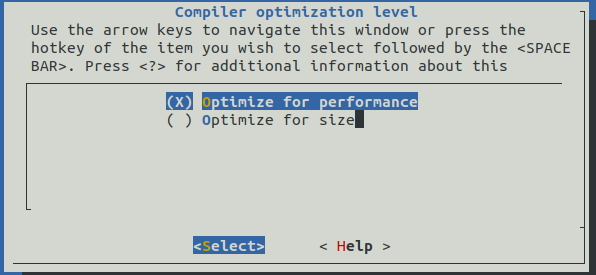
- optimize for perfomance
- optimize for size
No options like No optimization or Optimize for debugging. If you will try to walk through the image compiled with one of two options provided above you will face lot of optimized out variable values and randomly jumping Program Counter on trying to move step by step to the next instruction.
Another one an unpleasant surprise is that if you will try to edit Makefile manually to compile image with -O0/-Og you will get failed build process with lot of error messages. It turns out that you can’t just get and compile Linux Kernel without optimization. Here explained why. In short optimization used to remove dead code. But fortunately, search in google gave us explanation how to compile Linux Kernel with -Og flag. Awesome patch not approved for usage in kernel for some reasons.
Compile Linux Kernel with -Og flag
So you have to modify source code manually to build kernel optimized for debugging purpoces. Third build option to be added to Makefile:
KBUILD_CFLAGS += -Og
KBUILD_CFLAGS += $(call cc-disable-warning,maybe-uninitialized,)
else
…
endif
fsl,pins = <
MX6UL_PAD_JTAG_TDI__SAI2_TX_BCLK 0x17088
MX6UL_PAD_JTAG_TDO__SAI2_TX_SYNC 0x17088
MX6UL_PAD_JTAG_TRST_B__SAI2_TX_DATA 0x11088
MX6UL_PAD_JTAG_TCK__SAI2_RX_DATA 0x11088
MX6UL_PAD_JTAG_TMS__SAI2_MCLK 0x17088
>;
};
IDE setup
Similar to U-boot (described here in IDE setup chapter) with only difference you have to import Linux Kernel sources (./build_dir/target-arm_cortex-a7+neon-vfpv4_musl_eabi/linux-imx6ull_cortexa7/linux-4.14.199/) instead of U-boot sources. Recompile project from Eclipse IDE so resulted image will be appeared inside the linux kernel folder.
At this moment we didn’t find way to make debugging process from Eclipse in GUI mode (only in command line mode described below) so at this moment we are using Eclipse for navigation only.
Debugging in command line mode
Let’s try to debug.
Power up board and type anything in COM port console before U-boot starts load kernel:

Start GDB server:
Start GDB session:
$ gdb-multiarch vmlinux.debug –nx
then in gdb console:
(gdb) restore flexcan_ethernet-uImage binary 0x82000000
(gdb) restore image-flexcan_ethernet.dtb binary 0x83000000
(gdb) b __hyp_stub_install
Breakpoint 1 at 0x80110b20: file arch/arm/kernel/hyp-stub.S, line 89.
(gdb) c
Continuing.
then in U-boot console start linux Kernel boot process:
then switch back to gdb console. You should see something like that:
Breakpoint 1, __hyp_stub_install () at arch/arm/kernel/hyp-stub.S:89
89 store_primary_cpu_mode r4, r5, r6
(gdb)
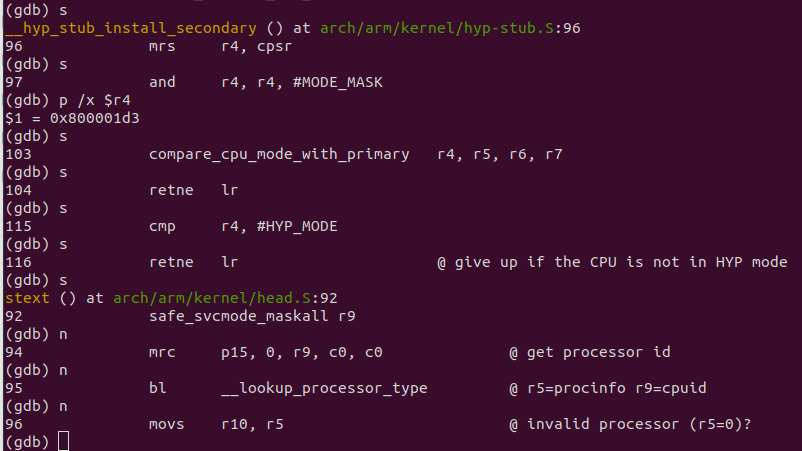
try to walk through the code by typing s and print registers/variables value by using p (print) command:
Then set breakpoint at start_kernel function and run there:
(gdb) c

You may use eclipse to navigate through the code. start_kernel function that implements most of initialization things might be found at ./build_dir/target-arm_cortex-a7+neon-vfpv4_musl_eabi/linux-imx6ull_cortexa7/linux-4.14.199/init/main.c file:

In next posts we will explain docker usage to simplify toolchain and ide setup, will try to load U-boot and kernel both using JTAG interface, will look how U-boot starts Kernel and other interesting things.