Lora indoor gateway. Lorawan gateway configuration using UI web interface
This is user manual for lora indoor gateway GW-01-WI-FI, lora outdoor gateway GW-01-POE and NetSoM development board that can be transformed to lorawan gateway using lora raspberry pi shield GW-01-RPI. All of them based on Semtech’s multi channel lora PHY concentrator SX1301. Explains step to configure lorawan gateway to connect server just in few steps.
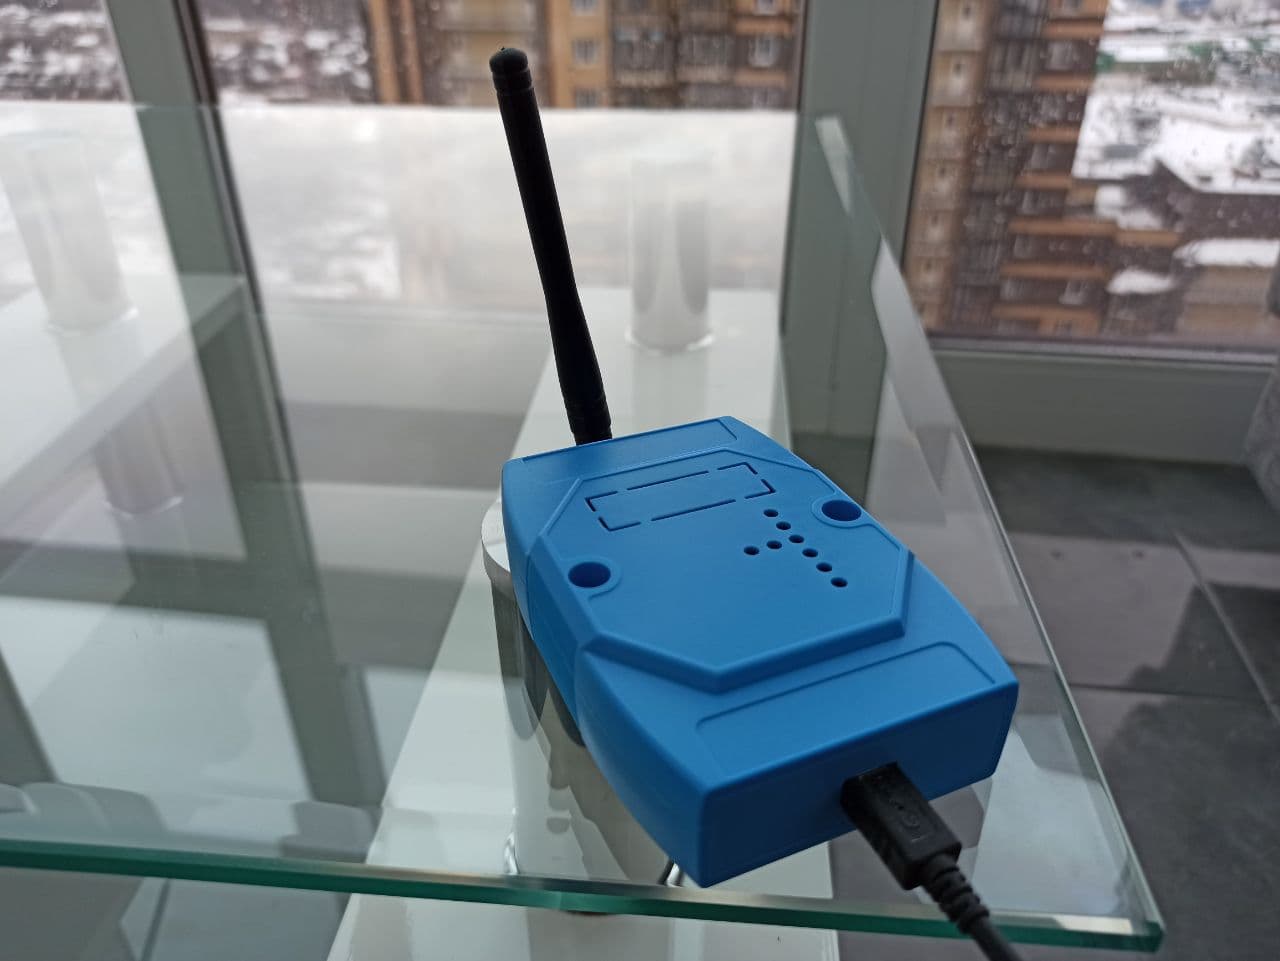
1. Power up lora indoor gateway.
First step is pretty simple. Here GW-01-WI-FI will be used as example. Just plug in USB power supply cable to device.
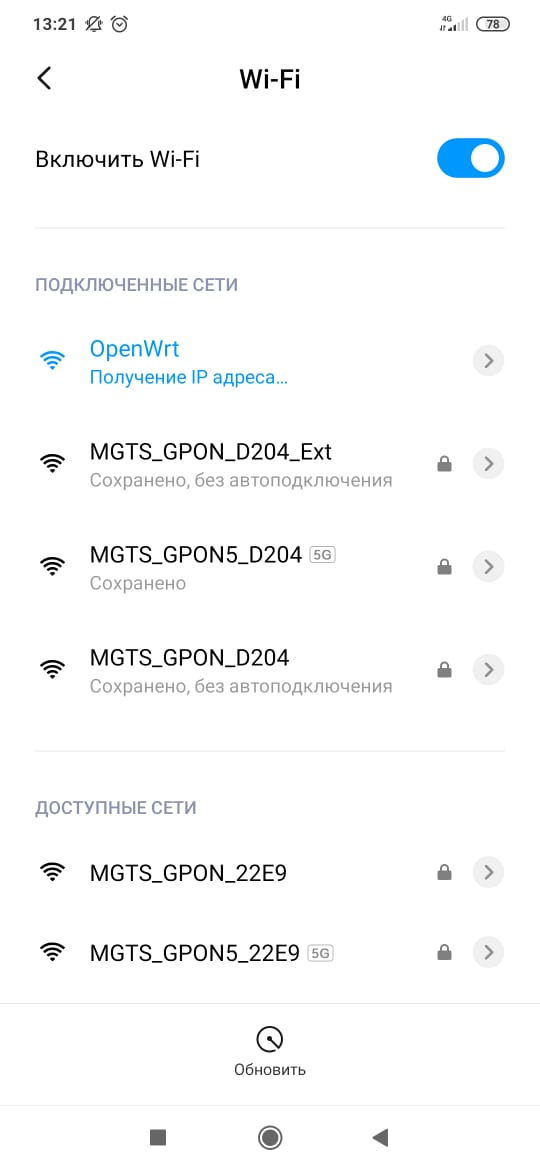
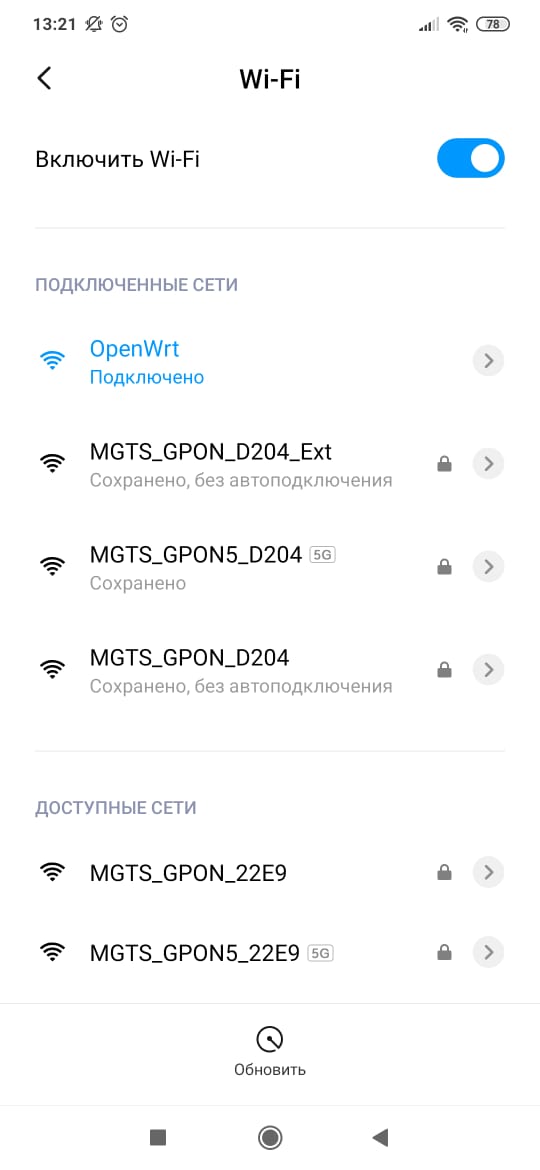
2. Connect to Wi-Fi AP.
Open you mobile phone or tablet Wi-Fi settings and wait for 30-60 seconds until OpenWrt network appears in the list of available devices than click on it. It will take IP via DHCP and become available at 192.168.1.1.
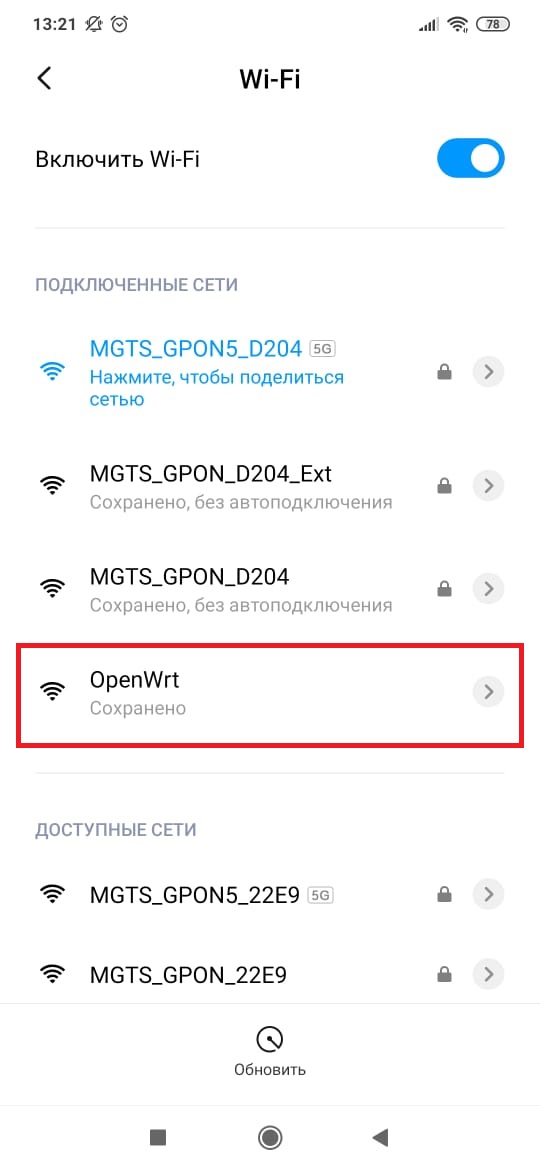
HINT. To decrease headache disable autoconnection option for previously used Wi-Fi network.
3. Configure connection to lorawan server.
Open 192.168.1.1 in web browser:
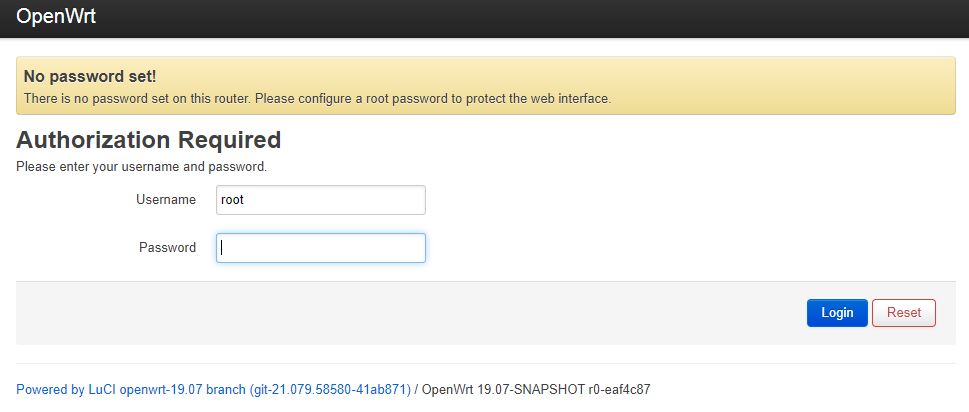
Here press Login without entering password and navigate to Lorawan tab:
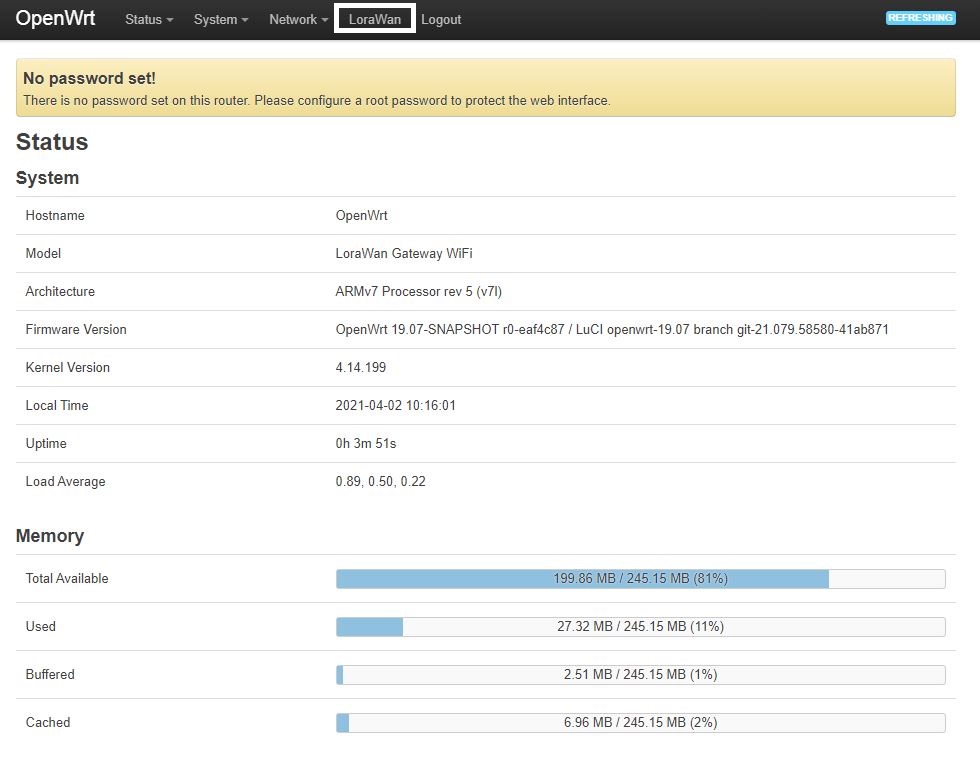
Then just enter your gateway ID (for testing purposes you can enter AA555A0000000005 for example), Lorawan server address you are willing to connect and up/down ports (typically 1700/1700). After that press Save & Apply. That is it!)
In a case of GW-01-WI-FI then you need to configure Wi-Fi settings to connect to upstream wi-fi network in STA mode:
If you would like to customize firmware of gateway check developers guide tutorial.